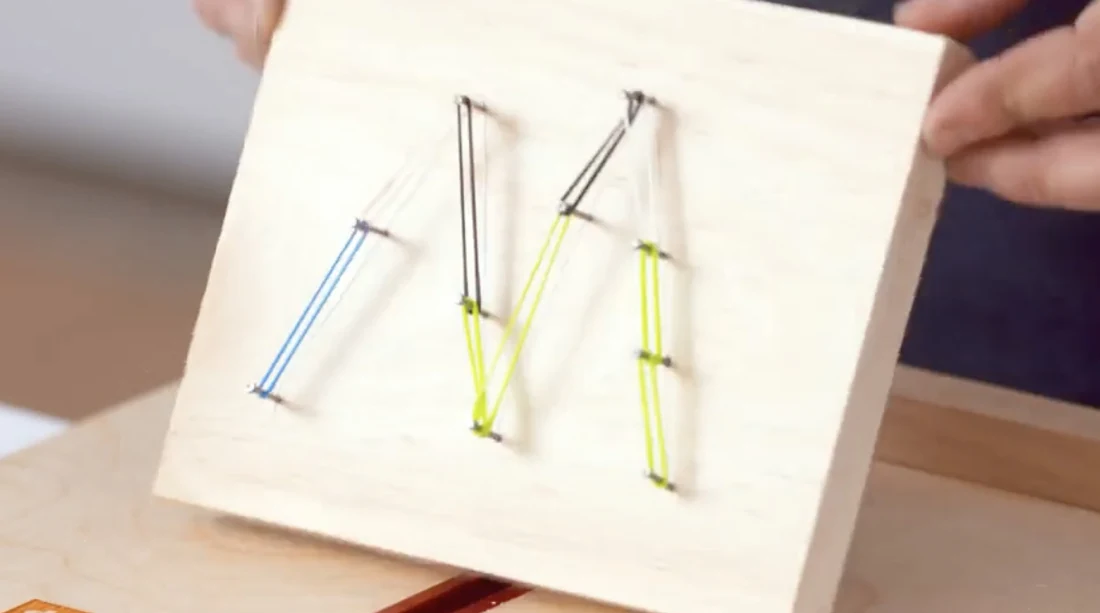
Build a design from points and lines
Use nails as anchor points and connect them with string or Rainbow Loom bands. Start with a simple letter or geometric shape. Your result should have a clear design, secure connections and no nail tips through the back.
Allow about 30 minutes, plus the planning and teacher-review time your class needs.
Skills you will practice
- Planning an order of operations before using tools.
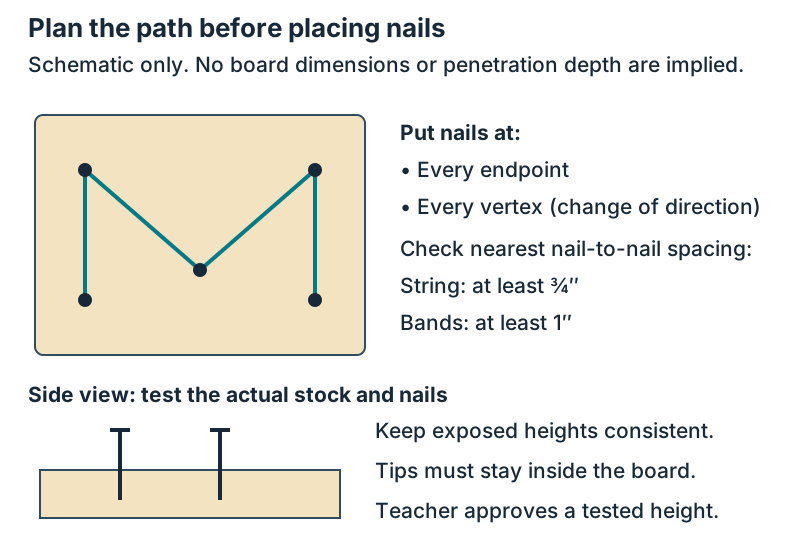
- Locating endpoints and vertices, where a line changes direction.
- Measuring nail spacing and controlling hammer strikes.
- Using repeated connections, color and open space intentionally.
Choose string or bands
- One teacher-prepared wood blank. The source materials list calls it 1″ × 6″ × 6″; measure the actual face and thickness of the piece supplied to you.
- 4-40 3d finishing nails, with the actual length checked by the teacher.
- Hammer, pencil and safety goggles. A combination square is optional.
- Option A: string, yarn or hemp string. The teacher supplies an amount suited to your drawing.
- Option B: Rainbow Loom bands; the source lists 4-40 bands. Choose intact bands suitable for the approved spacing.
- Optional decorative supplies, such as markers or approved paint.
Nominal lumber labels are not measurements of the board in your hand. A nominal 1 × 6 board may be dressed to about ¾″ × 5½″, but measure yours. Use the teacher-supplied blank as-is for the basic activity. No student cutting is required.
| Connection | Spacing | How to attach |
|---|---|---|
| String, yarn or hemp | At least ¾″ | Tie securely to a starting nail, wrap around anchors, and tie off the end. |
| Rainbow Loom bands | At least 1″ | Loop between approved anchor points without overstretching. |
Check the closest points in the whole design, including nearby corners and separate shapes. These minimum spacings do not replace the teacher’s check of edge clearance, wood condition or band tension.
Plan before hammering
Inspect for knots, cracks and weak edges. Choose a clear area or ask for another blank. Sketch lightly on the actual face. Put anchor dots at every endpoint and vertex, then add other anchor points if your plan needs them.
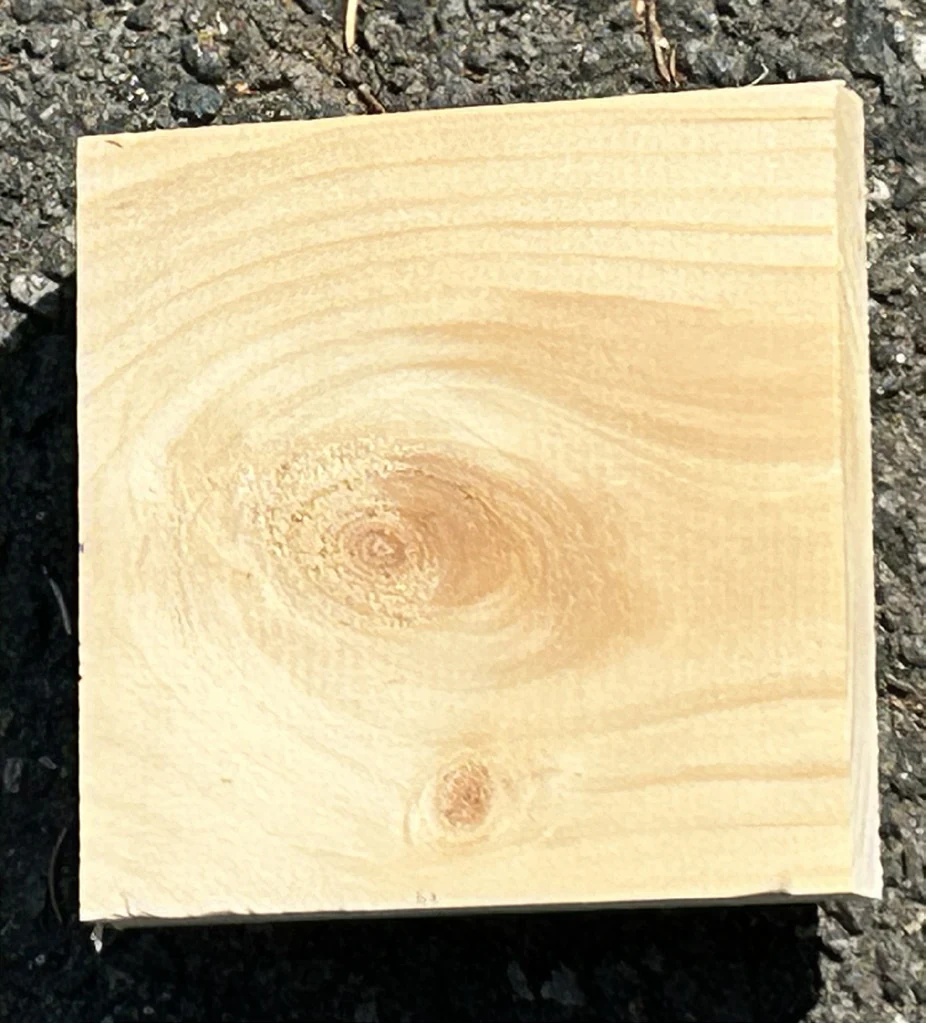
Choose string or bands now, then measure the corresponding minimum nail spacing. Count your anchors and check your available nails. Write a short sequence: inspect, plan, review, place nails, connect, inspect and clean up.
If coordinates help your layout, try the Geometry Workspace to place points and measure distances. Treat one coordinate unit as one inch for your plan. Transfer measurements to the real board with a ruler; a screen or printout is not automatically a full-size template.
Hammer with control
- Wear safety goggles and use the teacher-approved work surface and holding method. Keep the blank stable.
- Keep fingers out of the hammer path and away from the underside. Start with light taps; use controlled strikes only after the nail stands securely.
- Stop if the nail bends, the board splits, the work moves or the underside shows a point. Ask the teacher to help correct or replace it.
- Keep nail heights consistent with the tested sample. Do not drive deeper simply to match the picture.
- Handle bands without stretching them toward anyone. Stop if a band needs excessive force or begins to fail.
Place the anchors and connect the design
Prepare the face.
After inspection and teacher approval, use the board as supplied. If you want a painted or marked background, complete that first and let it dry fully before adding nails.
Finalize the drawing.
Check the endpoints, corners and the nearest nail-to-nail distances. Keep all anchors on sound wood. Make any layout correction now, before holes become permanent.
Start the first nail.
Use the source’s tap-tap-bang idea as a progression from light starting taps to controlled driving. Stop at the teacher-approved exposed height. Confirm that the nail is stable and its point remains inside the wood.
Add the remaining nails.
Place anchors at the endpoints and vertices first, then the other approved locations. Keep heights consistent. If a nail leans, stop and use the teacher-demonstrated correction method; do not hammer wildly from the side or hold a bent nail near the head.
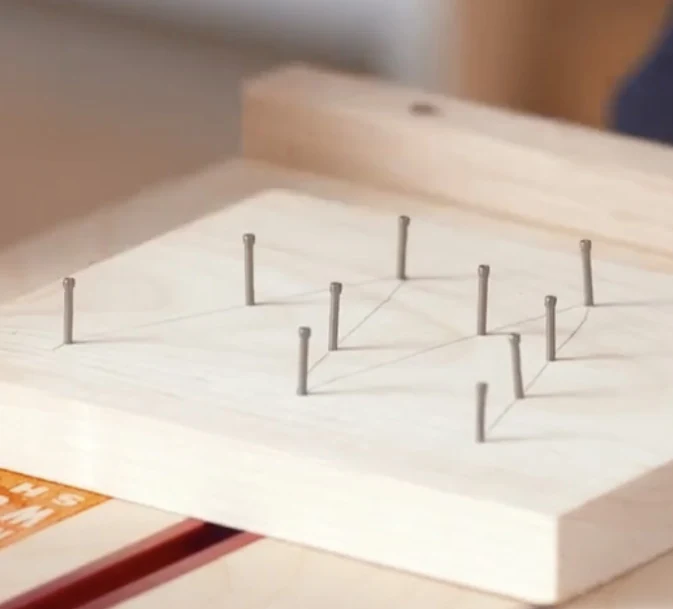
Maplewoodshop String Art project, PDF page 6: checking the anchor pattern and consistent heights. Connect with string.
For the string option, tie the starting end securely to an anchor. Follow your planned route, wrapping around each nail. Keep enough tension to hold the pattern without loosening the nails. Tie off neatly at the end and at each color change. Have the teacher show any unfamiliar knot.
Or connect with bands.
For the band option, loop an intact band around approved anchor points. Work one connection at a time. Keep the bands captured below the nail heads and avoid overstretching. Replace a damaged band; do not pull harder to make an unsuitable connection reach.
Check the finished design.
Make sure the intended outline is readable, every connection is secure and the board is stable. Ask for a final safety check before displaying or taking it home.
Finish and clean up
- Inspect the front, edges and underside. Resolve sharp points, splits or loose anchors with the teacher.
- Check tied ends and color changes for string, or damaged and slipping bands for the band option.
- Collect spare nails and band/string offcuts. Return the hammer and measuring tools.
- Clean the work surface and store the project so its raised nails will not catch on someone or another project.
Reflect and extend
Explain why you placed a nail at one particular endpoint or vertex. Which spacing or tension choice affected your result? Sketch a redesign that changes the pattern while respecting the material and safety limits.
Optional extensions
- Use repeated colors or connect across a shape to create a fill pattern.
- Compare two geometric layouts and explain how their vertices determine the string paths.
- A chamfer, a cut corner or a different blank size is a separate teacher-supervised extension. Any sawing or planing needs a new approved workholding and cutting plan before work begins; keep cutting tools away from installed nails.
The basic project is complete without edge shaping or additional cutting.