Know the tool
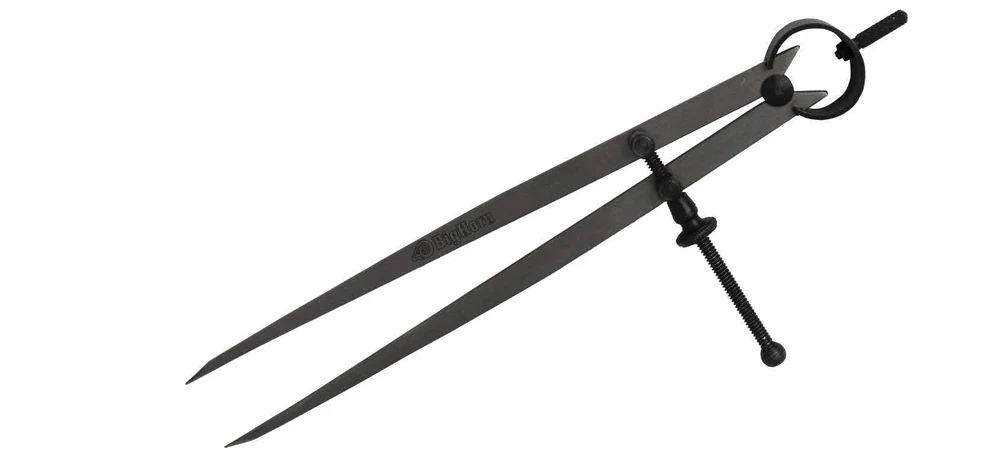
Your goal: Divide a 6-inch reference line into three equal intervals.
A divider has two pointed legs. Its fixed opening transfers a spacing; unlike a drawing compass, it has no pencil leg.
Identify both sharp tips and the opening adjustment. Count intervals between marks, not just the number of marks.
Watch and prepare
At your station
- A divider, ruler, pencil, and an instructor-prepared 6-inch line on supported paper or scrap.
- Approved backing and eye protection for handling the sharp points.
Demonstration and setup
- Watch the instructor adjust the opening and step from one tip to the other without changing that opening.
- Keep fingers out of the tip path and use the approved backing. Do not press the points through the sample.
- A tiny spacing error repeats with every step. Check the end position before accepting a layout.
Practice
Start after the demonstration and the instructor's setup check. Stop and ask for help if the work moves or the tool does not behave as demonstrated.
Inspect the reference.
Find both ends of the 6-inch line and confirm the length with the ruler. The target is three equal spaces.
Set a trial spacing.
With the instructor, set an opening near one third of the line. Keep the setting fixed during each trial.
Step three times.
Start at the first endpoint. Pivot from tip to tip along the line three times. If the last step misses the far end, adjust and restart from the beginning.
Label and verify.
Add pencil marks at the two interior positions. Check all three intervals with the ruler; each should be about 2 inches.
Show your skill
Show the instructor these observable results before using the skill in a project:
- The opening stays fixed throughout a complete stepping trial.
- Three equal intervals span the line, with four boundary positions including the endpoints.
- You recheck the full line instead of hiding an error in the final interval.
Check your understanding
How many boundary marks are needed for three intervals in a straight row?
Reveal the explanation
Four, including the two endpoints. For this practice line, the positions are 0, 2, 4, and 6 inches.
Answer aloud or on paper, then compare with the explanation.
Use the skill
Apply it in a project
Maplewoodshop materials adapted with permission. Images © Maplewoodshop. Practice tasks and learning checks by STEM Guides. Maplewoodshop.