Know the tool
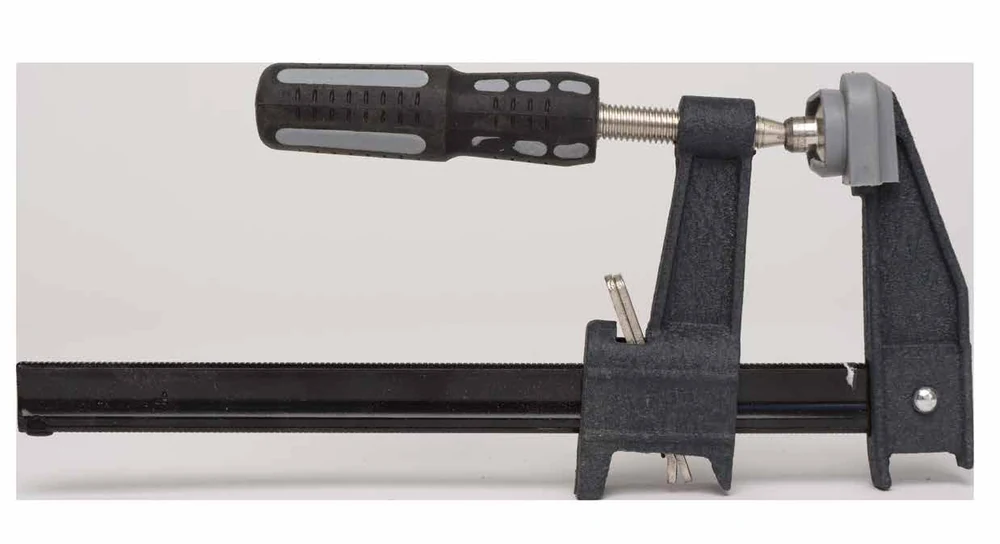
Your goal: Position, tighten, test, and release a clamp without trapping fingers or blocking the tool path.
Find the bar, fixed jaw, moving jaw, pads, and tightening handle. Release controls differ: identify the control on the actual clamp before moving the jaw.
Identify the jaw contact areas, finger pinch points, and any release control fitted to your clamp.
Watch and prepare
At your station
- An instructor-selected F clamp, stable bench, and a practice scrap.
- Protective pads if the instructor selects them; put cutting tools away for this workholding practice.
Demonstration and setup
- Watch the instructor choose sound contact areas and place the clamp clear of the full tool and hand travel.
- Learn the moving-jaw and release controls on this model. Keep fingers clear while bringing the jaws together.
- Tighten only enough to secure the work as demonstrated. Extra force can damage material or the clamp.
Practice
Start after the demonstration and the instructor's setup check. Stop and ask for help if the work moves or the tool does not behave as demonstrated.
Plan the contact.
Set the sample on the stable support. Point to the intended clamping areas and the space needed for the later operation.
Position the jaws.
Open and slide the moving jaw using its demonstrated control. Seat the pads on the intended contact areas with fingers clear.
Secure and test.
Turn the handle until the sample is secure. With all tools at rest, test stability as the instructor shows. Reset if anything shifts.
Release under control.
Support the loose piece, loosen the handle, and use the release as demonstrated. Return the clamp without dropping it or pinching fingers.
Show your skill
Show the instructor these observable results before using the skill in a project:
- The clamp has sound contact and leaves the intended work area clear.
- The sample stays still during the instructor's stability check.
- You can loosen and remove the clamp with control.
Check your understanding
The clamp feels tight but the scrap still pivots. Is the setup ready?
Reveal the explanation
No. Stop and have the instructor reset the support and contact arrangement. Handle resistance alone does not prove that the work is held securely.
Answer aloud or on paper, then compare with the explanation.
Use the skill
Apply it in a project
Maplewoodshop materials adapted with permission. Images © Maplewoodshop. Practice tasks and learning checks by STEM Guides. Maplewoodshop.