Know the tool
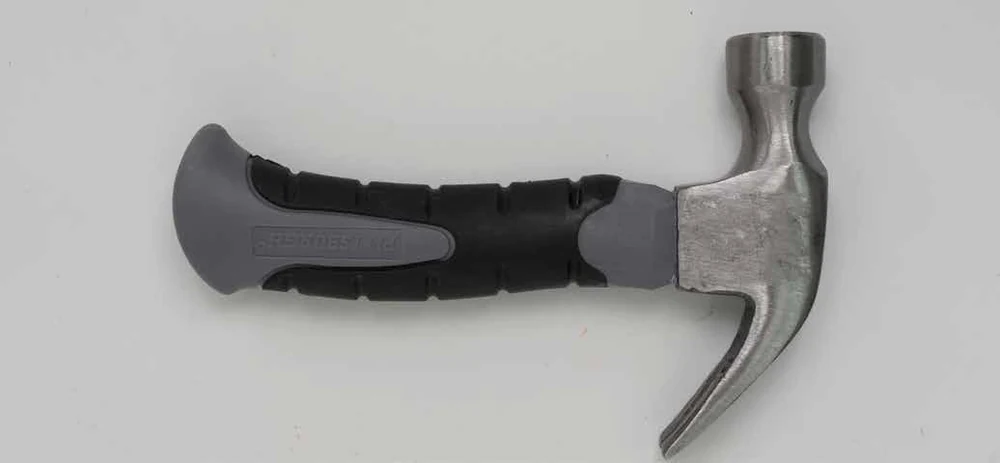
Your goal: Use gentle starting taps, move the holding aid clear, and stop at the assigned nail depth.
Use the flat striking face for this nailing exercise. A claw hammer also has a nail-removal claw; a peen hammer has a different opposite end. Only use the instructor-selected face and task.
Identify the handle, secure head, flat striking face, nail head, and the nail's intended path through the material.
Watch and prepare
At your station
- An inspected hammer, instructor-selected nails and scrap, approved nailing support/backing, and eye protection.
- A demonstrated nail-holding aid or instructor-started nail; the teacher tests stock, nail length, depth, and required hearing protection.
Demonstration and setup
- Watch the instructor position the sample and nail so the point cannot reach a hand or an unintended surface.
- Demonstrate gentle starting taps, moving the aid clear when the nail stands, and controlled finishing strokes.
- Confirm the stopping depth. A geoboard needs an approved exposed height, while other assemblies have different targets.
Practice
Start after the demonstration and the instructor's setup check. Stop and ask for help if the work moves or the tool does not behave as demonstrated.
Check the nailing setup.
Inspect the scrap and approved support. Point to the nail path and stopping depth, then get the instructor's approval.
Start the nail.
Use the demonstrated holding aid or prepared start. Tap gently until the nail stands securely; keep fingers out of the striking area.
Drive with control.
Move the aid clear as demonstrated. Use controlled strokes aimed at the nail head. Stop if the nail bends, the wood splits, or the support moves.
Inspect the result.
Set down the hammer and check the target depth, stability, and opposite side with the instructor. Leave bent-nail removal to the demonstrated procedure.
Show your skill
Show the instructor these observable results before using the skill in a project:
- The nail and material match the tested setup; the point stays contained as intended.
- Starting and driving strokes remain controlled, with fingers outside the striking path.
- You stop at the assigned depth and report bending or splitting.
Check your understanding
Should every nail in every project be hammered until its head is flush with the wood?
Reveal the explanation
No. The target depends on the project. A geoboard retains a tested exposed nail height for bands; an assembly may require a different finish. Follow the approved plan and depth guide.
Answer aloud or on paper, then compare with the explanation.
Use the skill
Apply it in a project
Maplewoodshop materials adapted with permission. Images © Maplewoodshop. Practice tasks and learning checks by STEM Guides. Maplewoodshop.