Know the tool
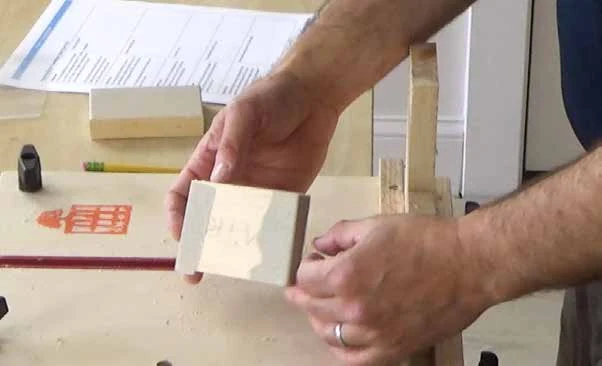
Your goal: Make controlled sanding strokes, inspect the result, and manage the dust using the class routine.
A sanding block supports abrasive paper so it can contact a surface evenly. The grit label identifies the abrasive grade; use the product and sequence selected for the task.
Identify the flat abrasive face, uncovered grip surfaces, and the surface you intend to smooth.
Watch and prepare
At your station
- A sound sanding block with securely fitted abrasive and an instructor-selected scrap.
- Approved workholding, eye protection, and the class dust-control/cleanup arrangement.
Demonstration and setup
- Watch the instructor select the abrasive, secure the sample, and demonstrate light strokes with the grain for this exercise.
- Check the paper for loose edges or folds and keep fingers on the uncovered grip surfaces.
- Follow the class dust controls. Do not blow dust toward yourself or other people.
Practice
Start after the demonstration and the instructor's setup check. Stop and ask for help if the work moves or the tool does not behave as demonstrated.
Inspect the sample.
Identify a small rough area and the shape that must remain. Secure the scrap so it cannot slide during the strokes.
Check the block.
Make sure the abrasive stays flat and attached. Use the grit selected by the instructor; a different grit is a deliberate change, not a guess.
Sand and inspect.
Use a few light, controlled strokes in the demonstrated direction. Stop to compare the surface and shape before removing more wood.
Reset the station.
Set the block down, clear dust using the approved method, and inspect with the instructor. Replace loose or worn paper before further use.
Show your skill
Show the instructor these observable results before using the skill in a project:
- The sample and abrasive remain secure during the strokes.
- The rough area improves while the intended face or edge shape is preserved.
- Dust is managed using the class method rather than blown into the air.
Check your understanding
Will pressing much harder always produce a better sanded surface?
Reveal the explanation
No. Pressure, abrasive condition, grit, support, and stroke control all affect the result. Use the demonstrated light strokes and inspect the surface instead of simply adding force.
Answer aloud or on paper, then compare with the explanation.
Use the skill
Apply it in a project
Maplewoodshop materials adapted with permission. Images © Maplewoodshop. Practice tasks and learning checks by STEM Guides. Maplewoodshop.